Begin Build Everything Before IAP Ends mode:
I chopped up the oar with an angle grinder. Sorry MITERS.
 |
| Almost looks like a real bicycle |
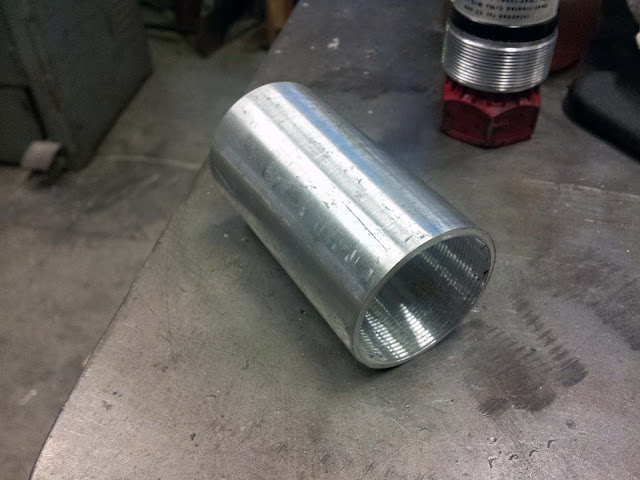
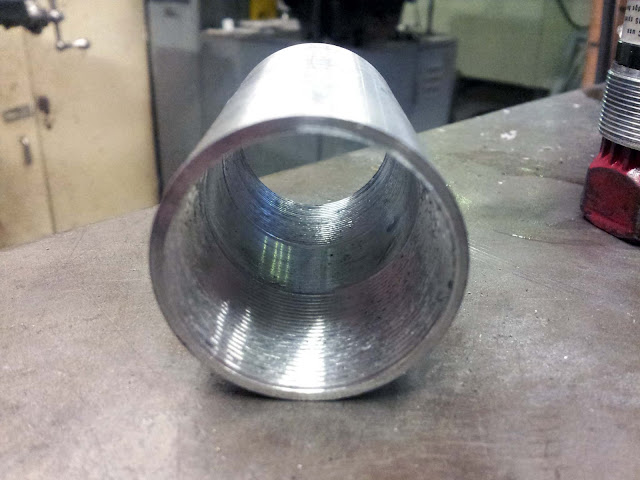
Rather than deconstructing an old aluminum frame for the head tube, bottom bracket shell, and dropouts, I will be making my own. I learned how to make threads on the lathe, and made my own BB shell out of some aluminum tubing. It is much thinner than one you would find on an all-aluminum bike, but since it will be wrapped in a few layers of fiber-reinforced-epoxy-composites it should be fine. All the aluminum parts of the frame will be coated first in a layer of fiberglass composite before any carbon fiber, to prevent galvanic corrosion.
The BB shell is left hand threaded on the right side and right hand threaded on the left side.
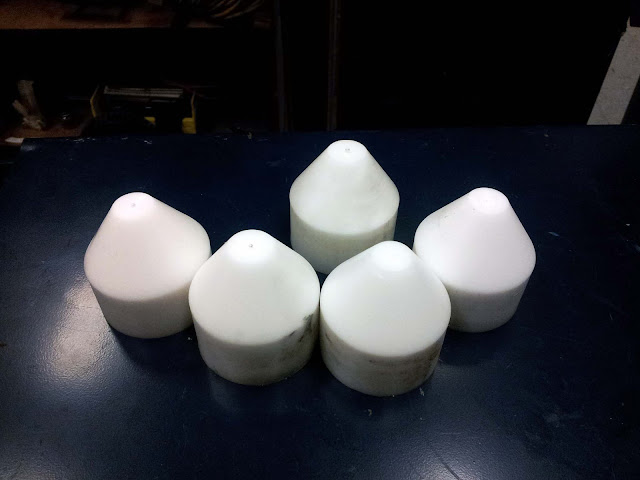
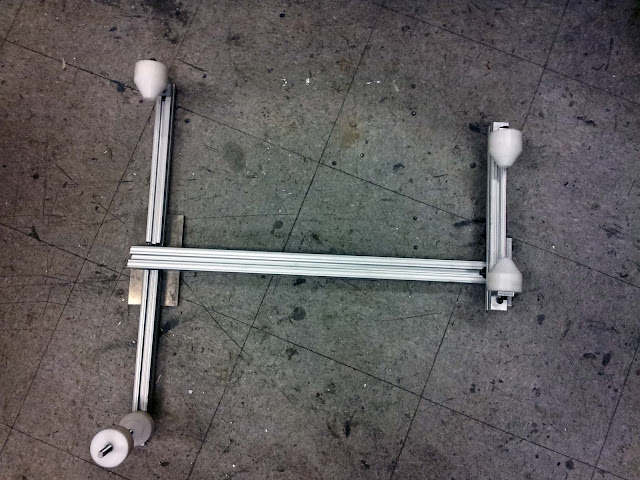
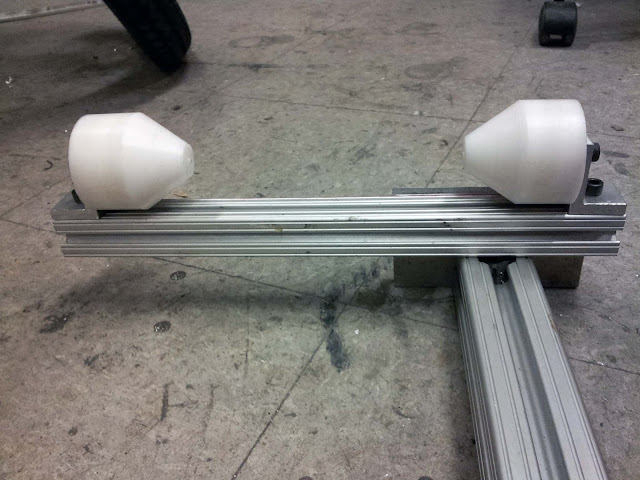
Unlike my bamboo bicycle build, this time around I do not have a donor bicycle I can use as a jig. I built my own jig using some 80-20 extrusion, nylon rod, and aluminum plate I could scavenge. I turned the nylon rod into 5 cones. These cones will fit into the ends of the frame's tubes, holding them precisely centered.
Here is the finished jig for the front half of the frame. It is fairly adjustable, so I could use it to build other frames later on, if I wanted to (provided they are the same size or smaller, and the head tube angle is roughly the same as the seat tube angle).
I have the jig set up to mimic the geometry of the 56cm Trek Madone 7, their highest end road bike. From the bike geometry information they provided, I was able to CAD the entire bike's geometry, and figure out the shape fo the jig from there.
The cones can be positioned at any point along the 80-20 extrusion:
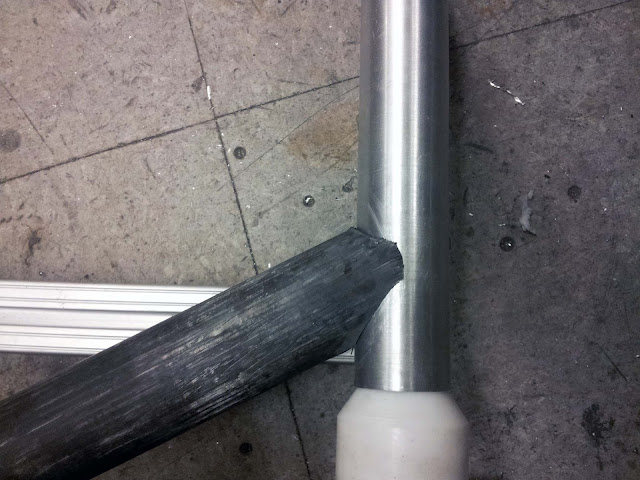
With the jig done, I started mitering the carbon fiber tubes. I did this on the mill with a hole saw. Weird angles were made by rotating the mill head:
One down, two more to go.






No comments:
Post a Comment